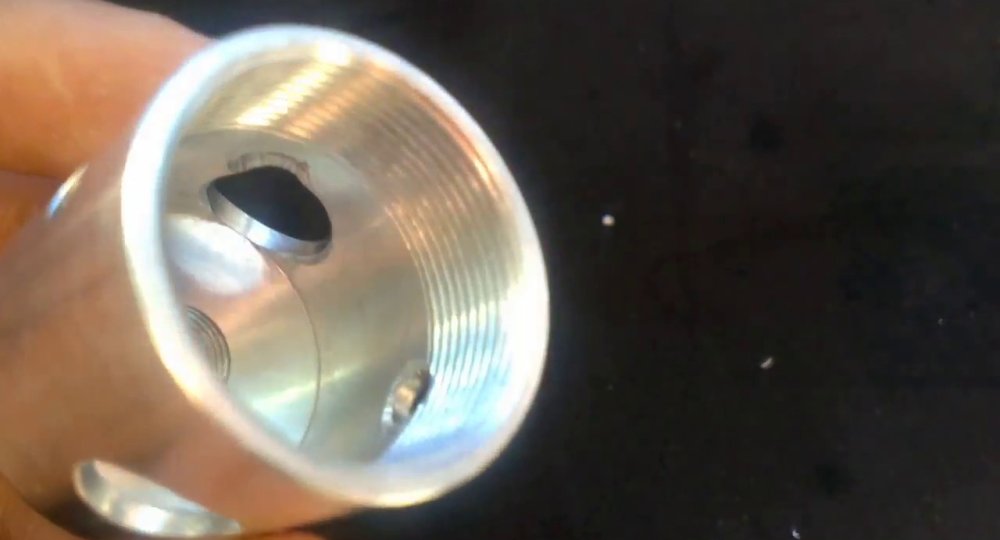
When working with metal, it is common for burrs to appear after cutting, drilling, or molding. These burrs are small metal protrusions that can be sharp and dangerous for workers, as well as causing aesthetic problems in the metal finish. To solve this problem, it is necessary to sand the metal burrs to achieve a smooth and safe finish.
In this article, we will teach you how to sand metal burrs effectively, using appropriate tools and techniques to achieve a satisfactory result.
Tools needed
Before starting to sand metal burrs, it is important to have the appropriate tools for the job. Below are the necessary tools for the burr sanding process:
- Electric or manual sander: for sanding large areas and thick burrs.
- Coarse-grit sandpaper (between 40 and 80): to remove thick burrs and large amounts of material.
- Fine-grit sandpaper (between 100 and 200): to smooth the surface and remove smaller burrs.
- Sanding discs: for work on curved and hard-to-reach areas. In this case, Cepicat has CEPIMET discs, which stand out for their quality and durability.
- Protective gloves: to prevent cuts and scrapes on the hands.
Techniques for sanding metal burrs
Once the necessary tools have been gathered, it is important to follow some appropriate techniques for sanding metal burrs:
- Inspect the metal piece: Before starting to sand, make sure that the metal piece is clean and free of oil, grease, or other contaminants that may affect the sanding result.
- Sand the burr with coarse-grit sandpaper: Place the coarse-grit sandpaper on the burr and rub the paper back and forth, applying firm and uniform pressure until the burr is removed. It is important to keep the sandpaper flat against the metal surface to avoid unwanted scratches.
- Sand with fine-grit sandpaper: Once the burr has been removed, switch to the fine-grit sandpaper and rub the metal surface to smooth it and remove any remaining burrs.
- Use sanding discs on curved and hard-to-reach areas: If the metal piece has curved or hard-to-reach areas, use sanding discs to work on these areas. Place the sanding disc on a rotary tool and work carefully to avoid scratches.
- Clean the metal piece: Once you have finished sanding, clean the metal piece with a clean, dry cloth to remove any sanding residue.
Sand the burrs with Cepicat
Sanding metal burrs is an important step in achieving a smooth and safe finish in any metallurgy project. By following the appropriate techniques and using the appropriate tools, you can effectively remove burrs and achieve a professional result in your project.
It is important to remember that burr sanding can be dangerous if proper precautions are not taken. Use protective gloves to prevent cuts and scrapes on your hands, and be sure to inspect the metal piece before starting the sanding process to avoid damaging the metal surface.
In summary, sanding metal burrs is an important task to achieve a smooth and safe finish in any metallurgy project. By following the appropriate techniques and using the appropriate tools, you can effectively remove burrs and achieve a professional result in your project.


