What a laser actually leaves on the edge
A laser-cut edge is not a machined edge with a burr on it. It is three problems stacked on top of each other, and they need different treatment.
Dross on the underside. Molten material blown out by the assist gas and re-solidified on the exit side. On thick plate and on oxygen cutting it can be hard, tenacious and irregular. It is not abrasive work: it has to be knocked off before anything else touches the part.
An oxide layer. Cutting with oxygen leaves an oxidised skin along the cut face. It is thin, but paint and powder do not stick to it, and it will show up as a coating failure months later rather than on the day.
A hardened, sharp edge. The heat-affected zone runs harder than the parent material. This matters because the same brush that rounds mild steel comfortably will glaze or wear fast on that edge, and because a sharp edge is what coating cannot cover.
Why the radius matters, and how much you need
Coatings pull back from sharp edges as they cure. Surface tension does the rest: the film thins out exactly where corrosion starts. Rounding the edge gives the coating something to hold on to.
How much radius depends on who is buying the part, and you should always work from your customer's specification rather than a rule of thumb. As a guide, requirements in the field run from about R0.2 mm for cosmetic deburring and safe handling, to R0.5 mm as the usual minimum for reliable powder-coating adhesion, up to R2 mm where higher corrosion-protection categories are specified. The jump from R0.5 to R2 is not a small one: it is roughly the difference between a finishing pass and a genuine stock-removal operation, and it changes which tooling you need.
The HD brush: this is what creates the radius
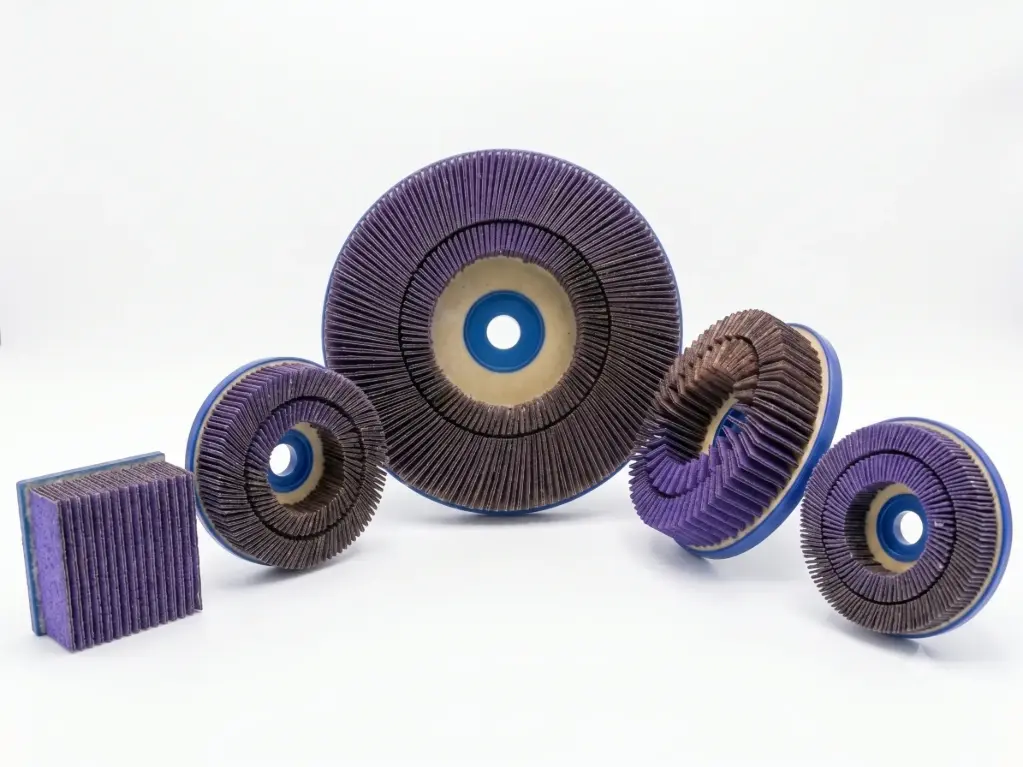
An HD brush is an abrasive-flap tool built at high density, with the flaps radially slit so that the block keeps a lot of cutting points at the edge while still flexing enough to wrap around it. That combination is the whole point: density gives you the material removal that produces a real radius, and the flexibility means the abrasive attacks the edge rather than grinding the face of the part flat.
Use it when you need to remove dross residue, strip the oxide skin, and put a measurable radius on the contour — including inside holes and internal cut-outs, where a stiff tool simply cannot reach. It is the tool that does the work.
We wrote up the density-versus-flexibility trade-off, and what changes with the paired-flap HD PRO, in HD and HD PRO: high-density deburring discs.
The Scotch brush: this is what finishes the surface
A Scotch brush — non-woven abrasive — works differently. The open nylon web carries abrasive grain through a springy structure that conforms to the surface without cutting into it. It removes the fine scratch pattern the HD stage leaves behind, evens out the appearance, cleans the face, and produces the uniform satin look that many customers actually judge the part by.
What it will not do is create a radius. Non-woven has very little stock-removal capacity by design; that is what makes it good at finishing. If you are running Scotch alone and wondering why the edge still feels sharp, that is why.
How to lay it out
On a two- or three-head deburring machine — Weber, Timesavers, Q-Fin, ARKU and equivalents — the sequence that works is straightforward. Dross removal first if the material needs it, with steel pins rather than abrasive: see slag removal pins. Then HD to strip the oxide and build the radius, coarser grit for a larger radius. Then Scotch to finish.
If you only have two heads, decide what the customer is paying for. A part going to powder coating needs the radius, so HD takes priority. A visible part in stainless where the finish is the product may justify giving a head to Scotch. Trying to get both out of one head is where most disappointing results come from.
For the specific case of reaching a 2 mm radius running dry, we covered the parameters in edge rounding on laser-cut metal parts.
Why your radius comes out uneven
Four causes, in the order we find them.
The brush has worn shorter than you think. Abrasive brushes lose radius capability long before they look finished. The contact pressure drops as the filament shortens, and the radius quietly goes with it. Measure the edge, not the brush.
Pressure is not even across the beam. A machine set slightly out of parallel gives a deeper radius on one side of the part than the other. It is invisible on a small part and obvious on a wide one.
Rotation direction. With a single rotation direction, the edges facing the brush get more work than the edges facing away, so a rectangular part comes out with two good sides and two poor ones. Machines with counter-rotating or oscillating heads exist precisely to solve this.
Grit jumped too far. A coarse HD followed straight by a fine Scotch leaves scratches the non-woven cannot remove. They show under raking light, and on stainless they show under any light.
Tell us the part
The right combination depends on your material and thickness, whether you cut with oxygen or nitrogen, the radius your customer specifies and how many heads you have to play with. On our Dry Costa 125 mm you can select the brush type for the job on the same holder — Flap, Scotch, High Density or Double Scotch. Send us the part and the machine model and we will propose the setup and the grit sequence — and make the brushes to fit your holders. See the range in the shop or write to us. We run samples.
CEPICAT — industrial brushes made in Barcelona since 2005.